Hexo NexT主题之代码块Mac Panel特效

偶然间发现一款不错的代码块样式,类似 Mac 的面板效果。能设置阴影效果和实现文本编辑功能,不过文本只存在浏览器页面上,不会真正保存。配置的方式也很简单,觉得不错的朋友可以试一下。

效果截图:

n1QSxA.gif

引入 js

这里新建两个 js 文件 events.jscodeblock.js,路径位于 next/scripts/ 包下。

events.js 代码:

1
2
3
4
5
6
7
// mac Panel 效果代码块相关
var exec = require('child_process').exec;

// new 后自动打开编辑器
hexo.on('new', function(data){
exec('open -a MacDown ' + data.path);
});

这个 js 会在你敲 hexo new xxx 命令后,调用本地的 MarkDown 编辑器打开新建的 md 文件 xxx

codeblock.js 代码:

1
2
3
4
5
6
7
8
9
10
11
12
13
14
15
16
17
18
19
20
21
22
// mac Panel 效果代码块相关
var attributes = [
'autocomplete="off"',
'autocorrect="off"',
'autocapitalize="off"',
'spellcheck="false"',
'contenteditable="true"'
]

var attributesStr = attributes.join(' ')

hexo.extend.filter.register('after_post_render', function (data) {
while (/<figure class="highlight ([a-zA-Z]+)">.*?<\/figure>/.test(data.content)) {
data.content = data.content.replace(/<figure class="highlight ([a-zA-Z]+)">.*?<\/figure>/, function () {
var language = RegExp.$1 || 'plain'
var lastMatch = RegExp.lastMatch
lastMatch = lastMatch.replace(/<figure class="highlight /, '<figure class="iseeu highlight /')
return '<div class="highlight-wrap"' + attributesStr + 'data-rel="' + language.toUpperCase() + '">' + lastMatch + '</div>'
})
}
return data
})

引入 css

next/source/css/_common/components/highlight/ 目录下新建 macPanel.styl 文件,内容如下:

1
2
3
4
5
6
7
8
9
10
11
12
13
14
15
16
17
18
19
20
21
22
23
24
25
26
27
28
29
30
31
32
33
34
35
36
37
38
39
40
41
42
43
44
45
46
47
48
49
50
51
52
53
54
55
56
57

// mac Panel 效果代码块相关
.highlight-wrap[data-rel] {
position: relative;
overflow: hidden;
border-radius: 5px;
//box-shadow: 0 10px 30px 0px rgba(0, 0, 0, 0.4);
box-shadow:18px 18px 15px 0px rgba(0,0,0,.4)
margin: 35px 0;
::-webkit-scrollbar {
height: 10px;
}

::-webkit-scrollbar-track {
-webkit-box-shadow: inset 0 0 6px rgba(0, 0, 0, 0.3);
border-radius: 10px;
}

::-webkit-scrollbar-thumb {
border-radius: 10px;
-webkit-box-shadow: inset 0 0 6px rgba(0, 0, 0, 0.5);
}
&::before {
color: white;
content: attr(data-rel);
height: 38px;
line-height: 38px;
//background: #21252b;
background: #108414de;
color: #fff;
font-size: 16px;
//position: absolute;
top: 0;
left: 0;
width: 100%;
//font-family: 'Source Sans Pro', sans-serif;
font-weight: bold;
padding: 0px 80px;
text-indent: 15px;
float: left;
}
&::after {
content: ' ';
position: absolute;
-webkit-border-radius: 50%;
border-radius: 50%;
background: #fc625d;
width: 12px;
height: 12px;
top: 0;
left: 20px;
margin-top: 13px;
-webkit-box-shadow: 20px 0px #fdbc40, 40px 0px #35cd4b;
box-shadow: 20px 0px #fdbc40, 40px 0px #35cd4b;
z-index: 3;
}
}

此 css 是根据我本地的样式做过调整,注释的代码为原有的,根据需要调整样式即可。

配置引用

next/source/css/_common/components/highlight/highlight.styl 中引入刚才新建的 macPanel.styl

1
@require "macPanel"

配置在文件的顶部位置即可。

到此 Mac Panel 配置完成,根据需要可调整主题配置文件中的 highlight_theme,选择自己喜欢的样式。

可能遇到的问题

如果在配置完毕后,hexo 启动报如下错误:

n1QPqP.png

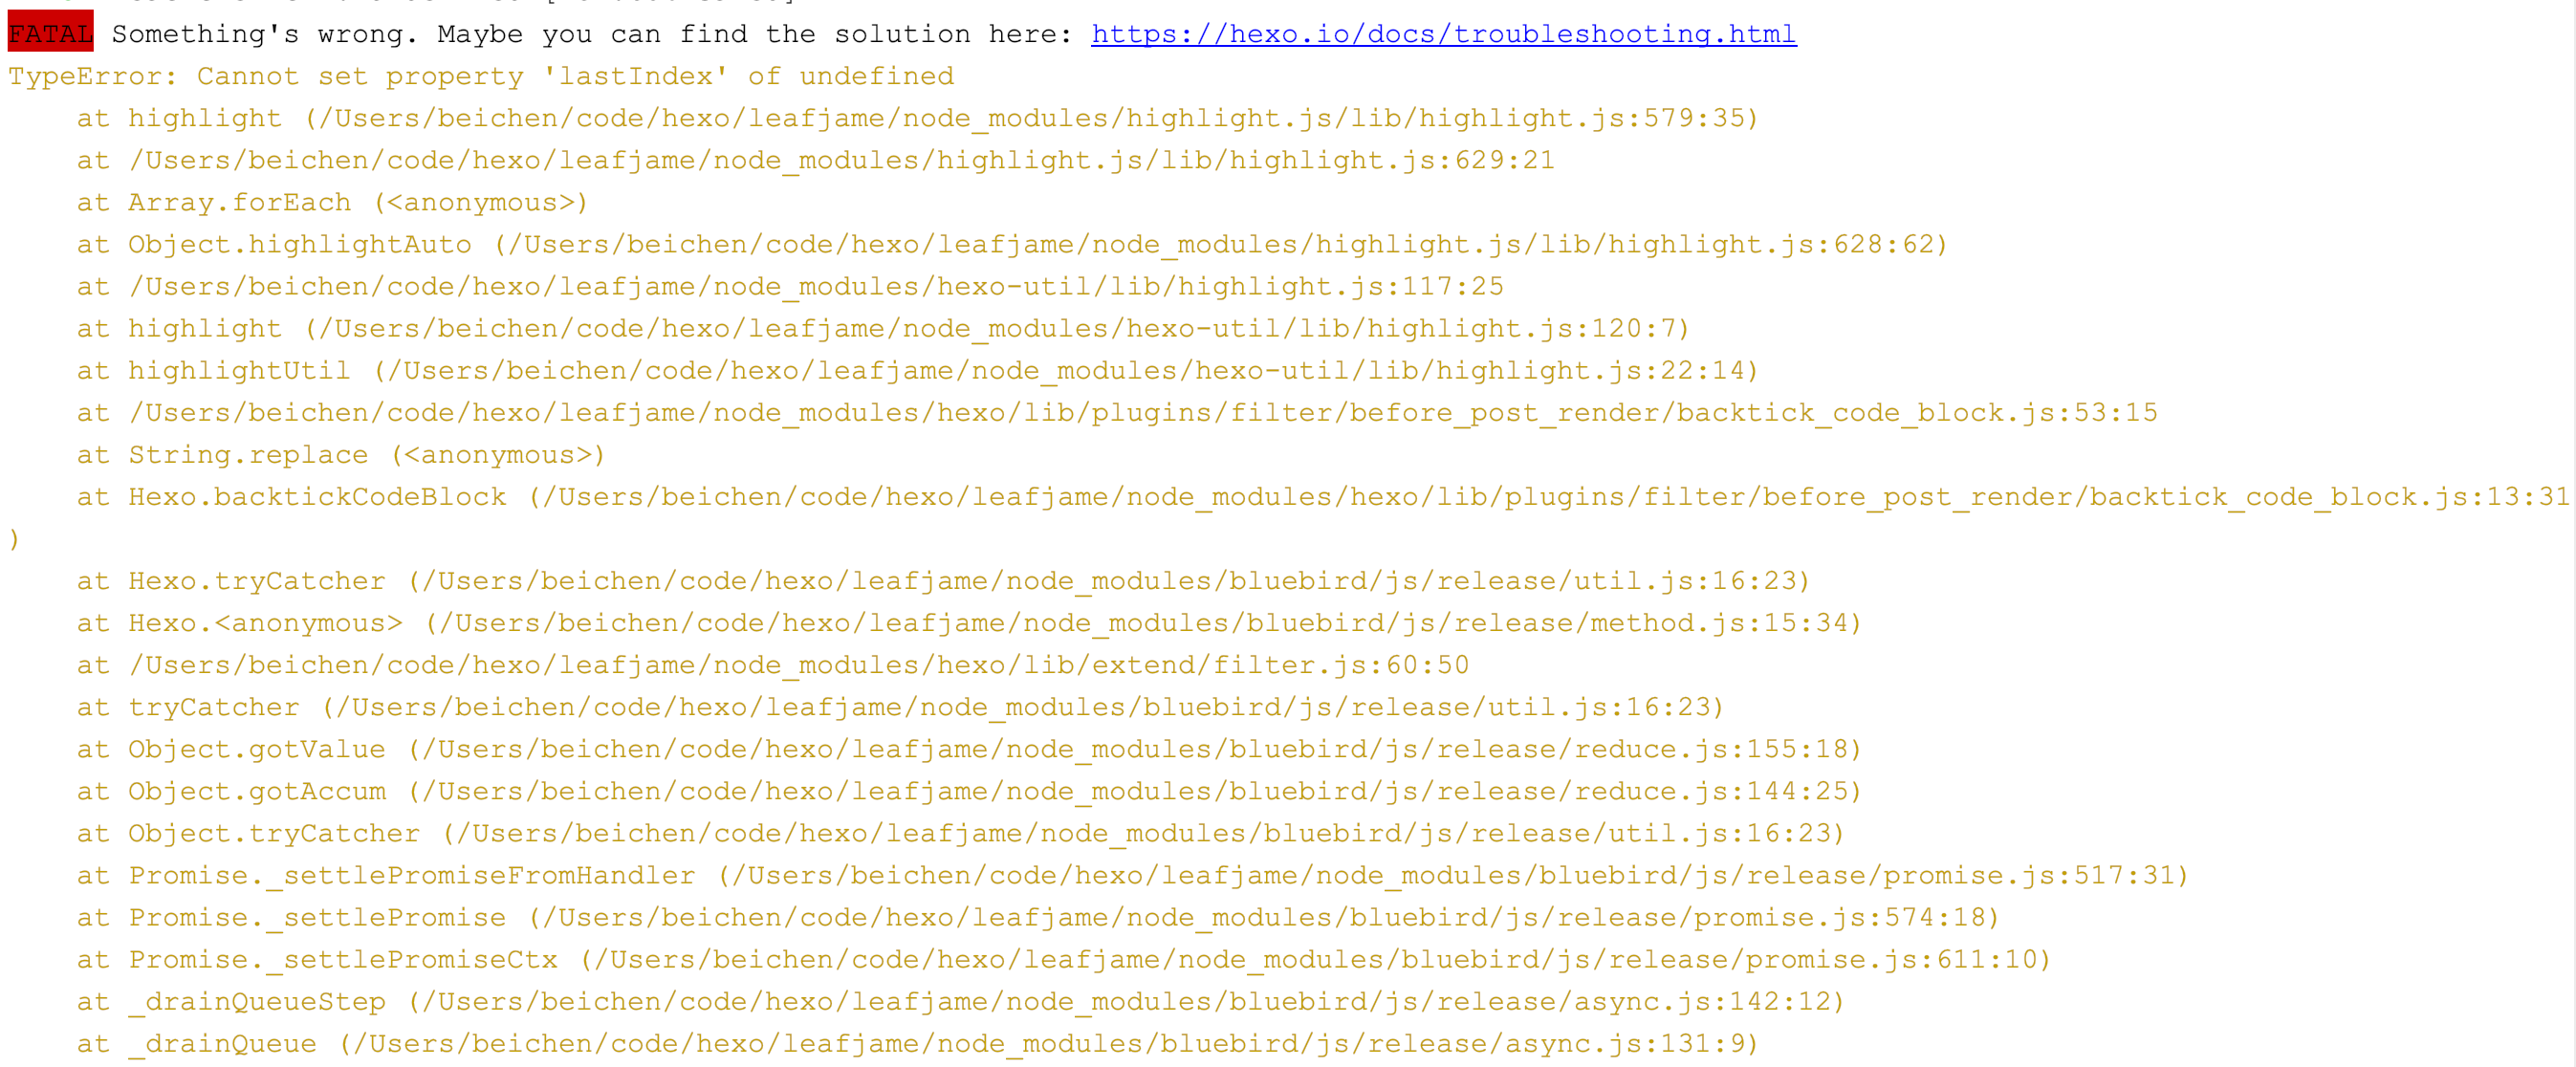
可将**站点配置文件里的 highlight 属性 auto_detect 改成 false

1
2
3
4
5
6
highlight:
enable: true
line_number: true
- auto_detect: true
+ auto_detect: false
tab_replace:

参考:

TypeError: Cannot set property ‘lastIndex’ of undefined

点击查看

本文标题:Hexo NexT主题之代码块Mac Panel特效

文章作者:北宸

发布时间:2019年08月27日 - 19:43:49

最后更新:2023年08月19日 - 13:26:00

原始链接:https://www.liaofuzhan.com/posts/4114783453.html

许可协议: 署名-非商业性使用-禁止演绎 4.0 国际 转载请保留原文链接及作者。

-------------------本文结束 感谢您的阅读-------------------
🌞